May 18, 2012
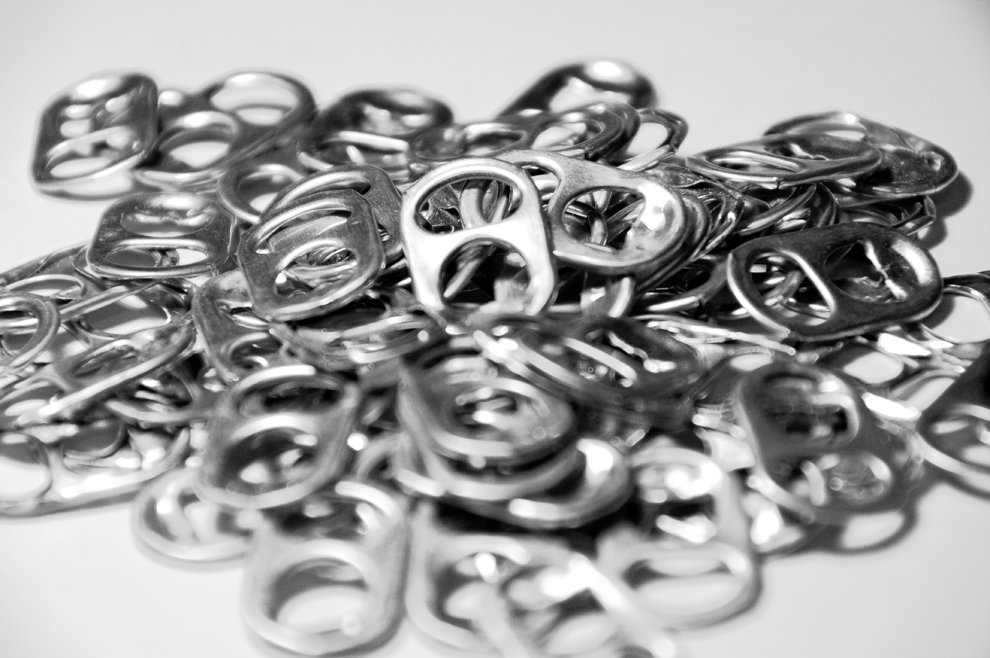
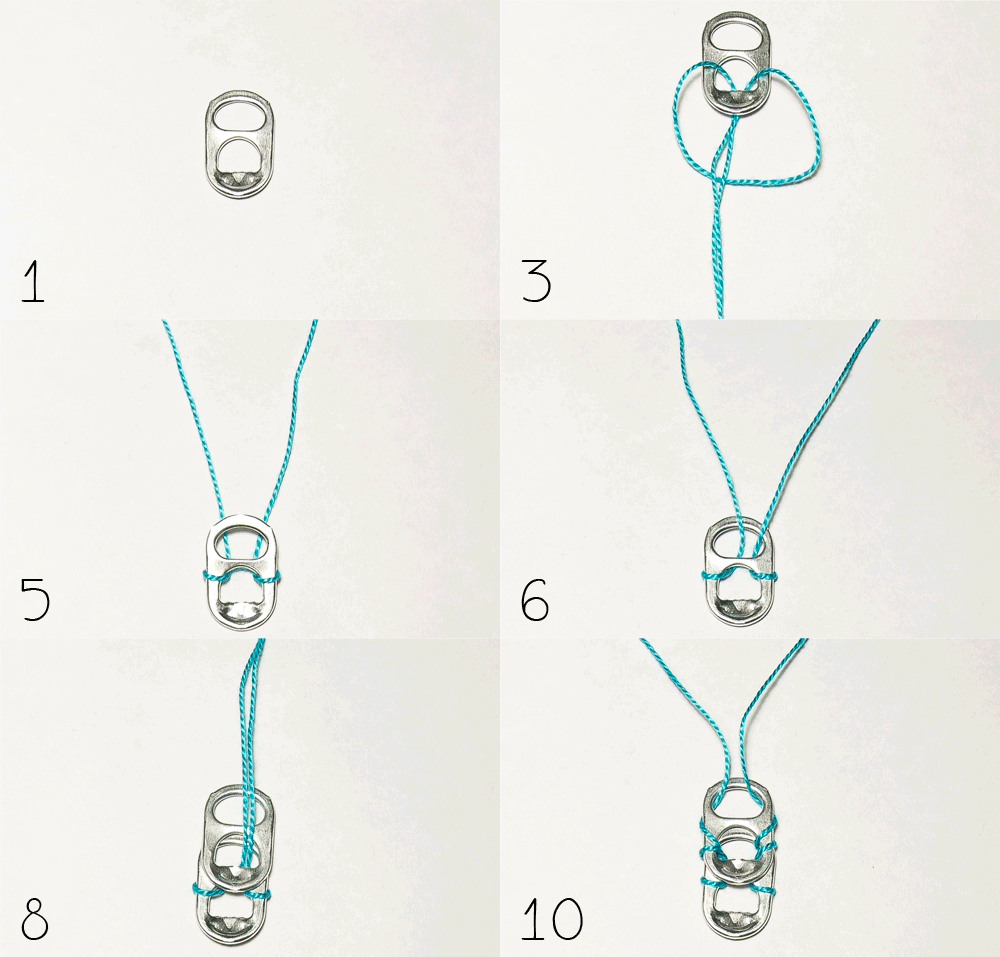
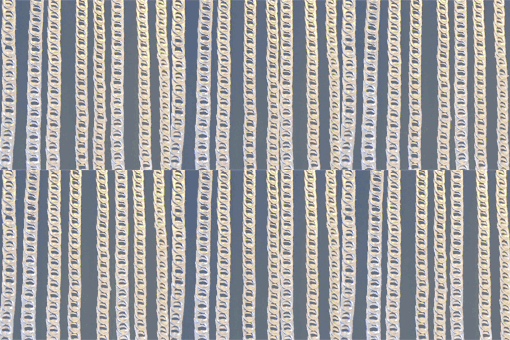
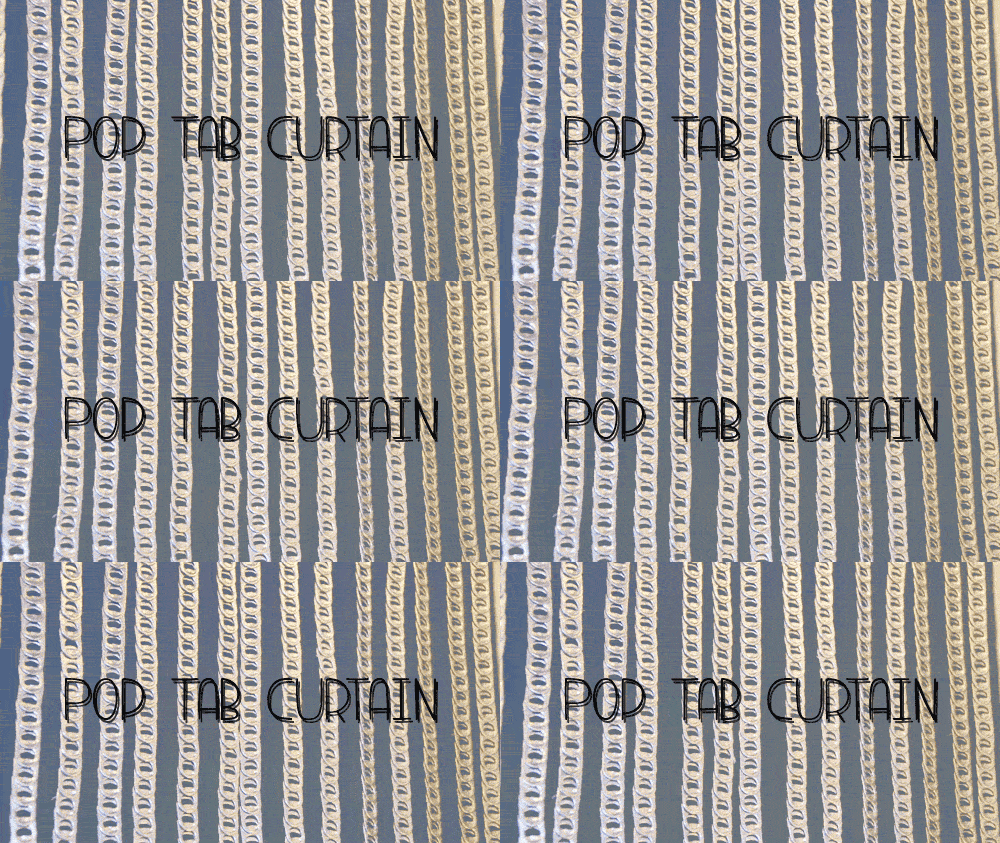
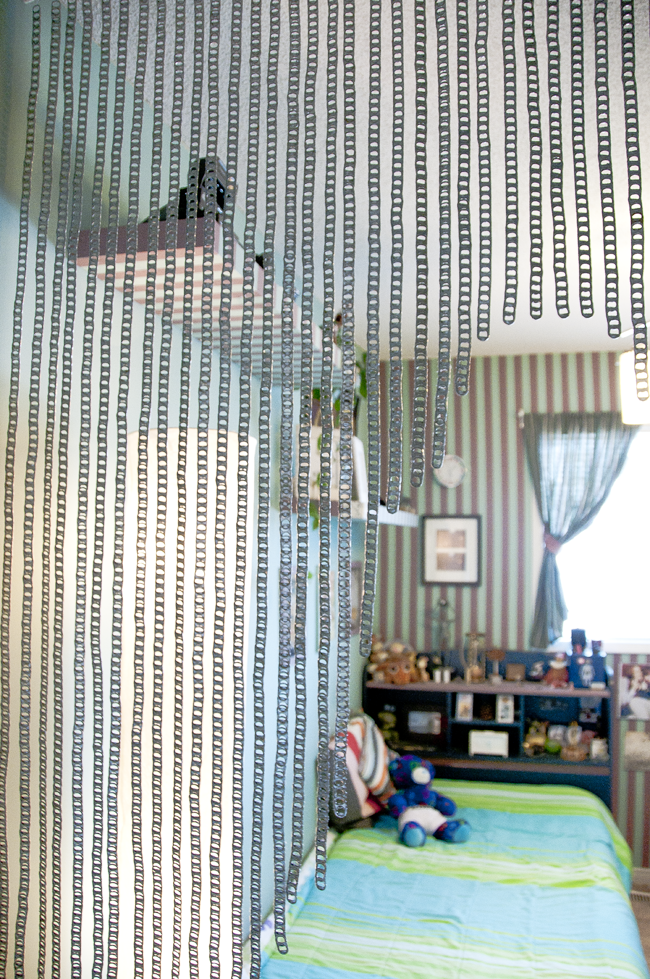
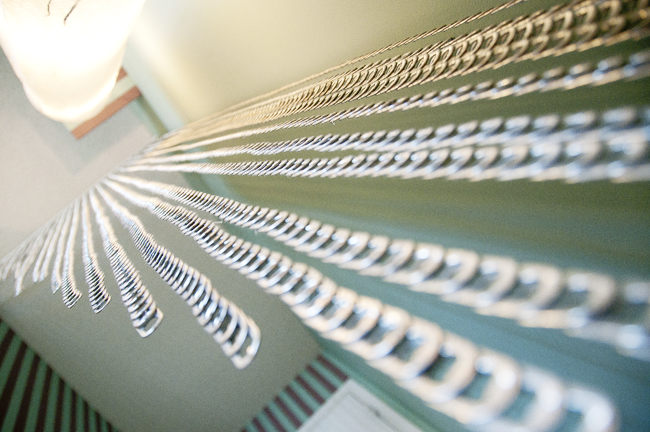
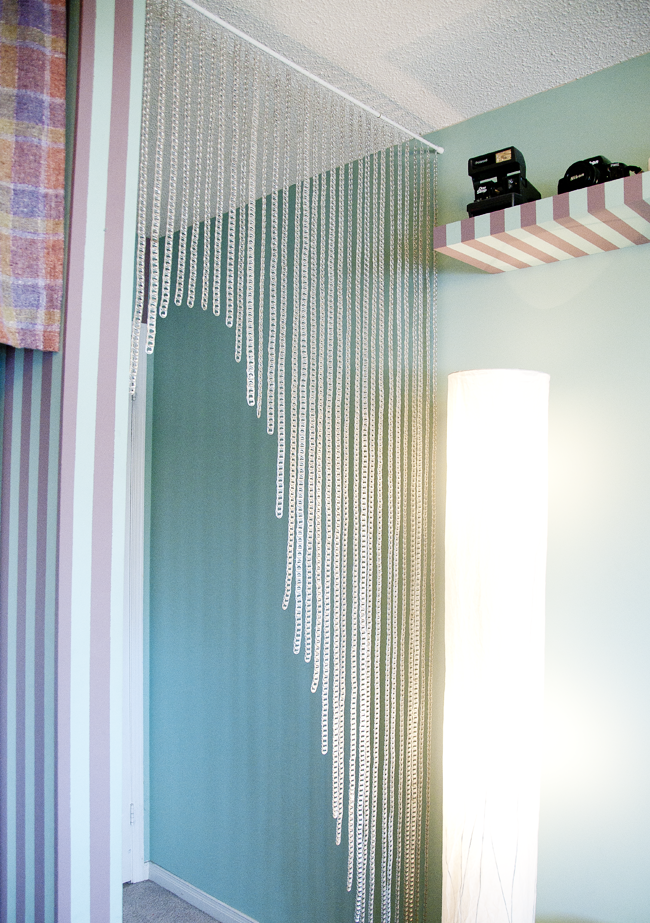
DIY: Pop Tab Curtain
Posted by Dori the Giant at 2:37 PM 27 comments
Labels: do it yourself, things i made
May 2, 2012
Bottle Cap Pikachu
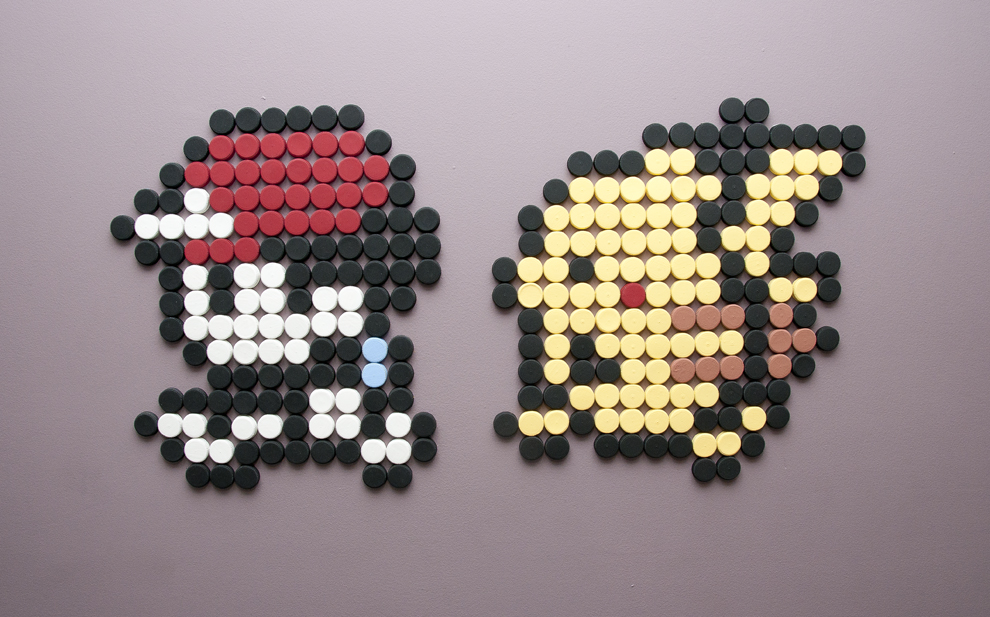
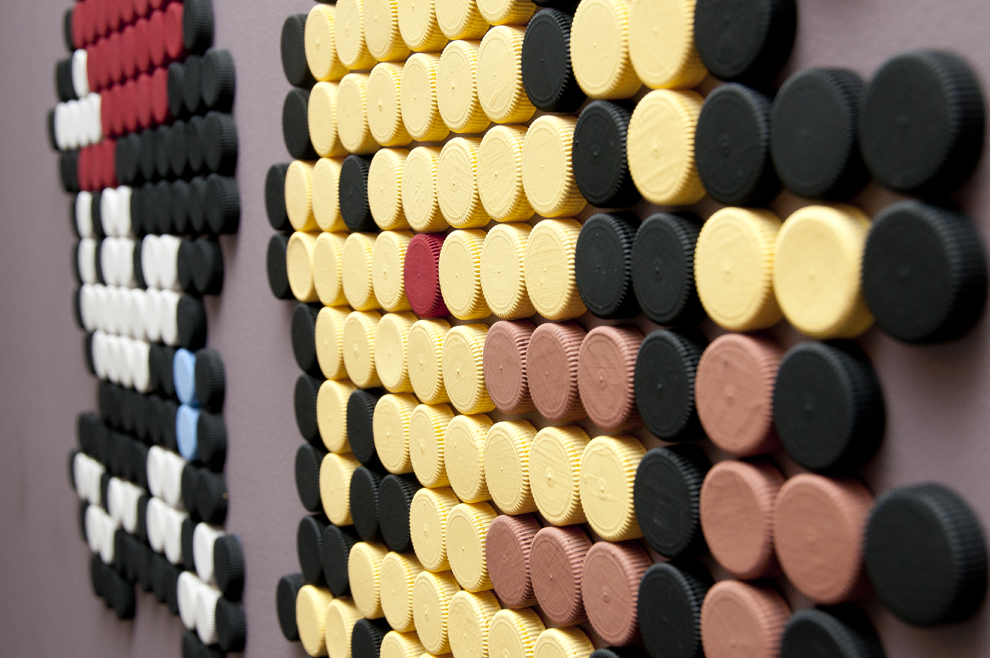
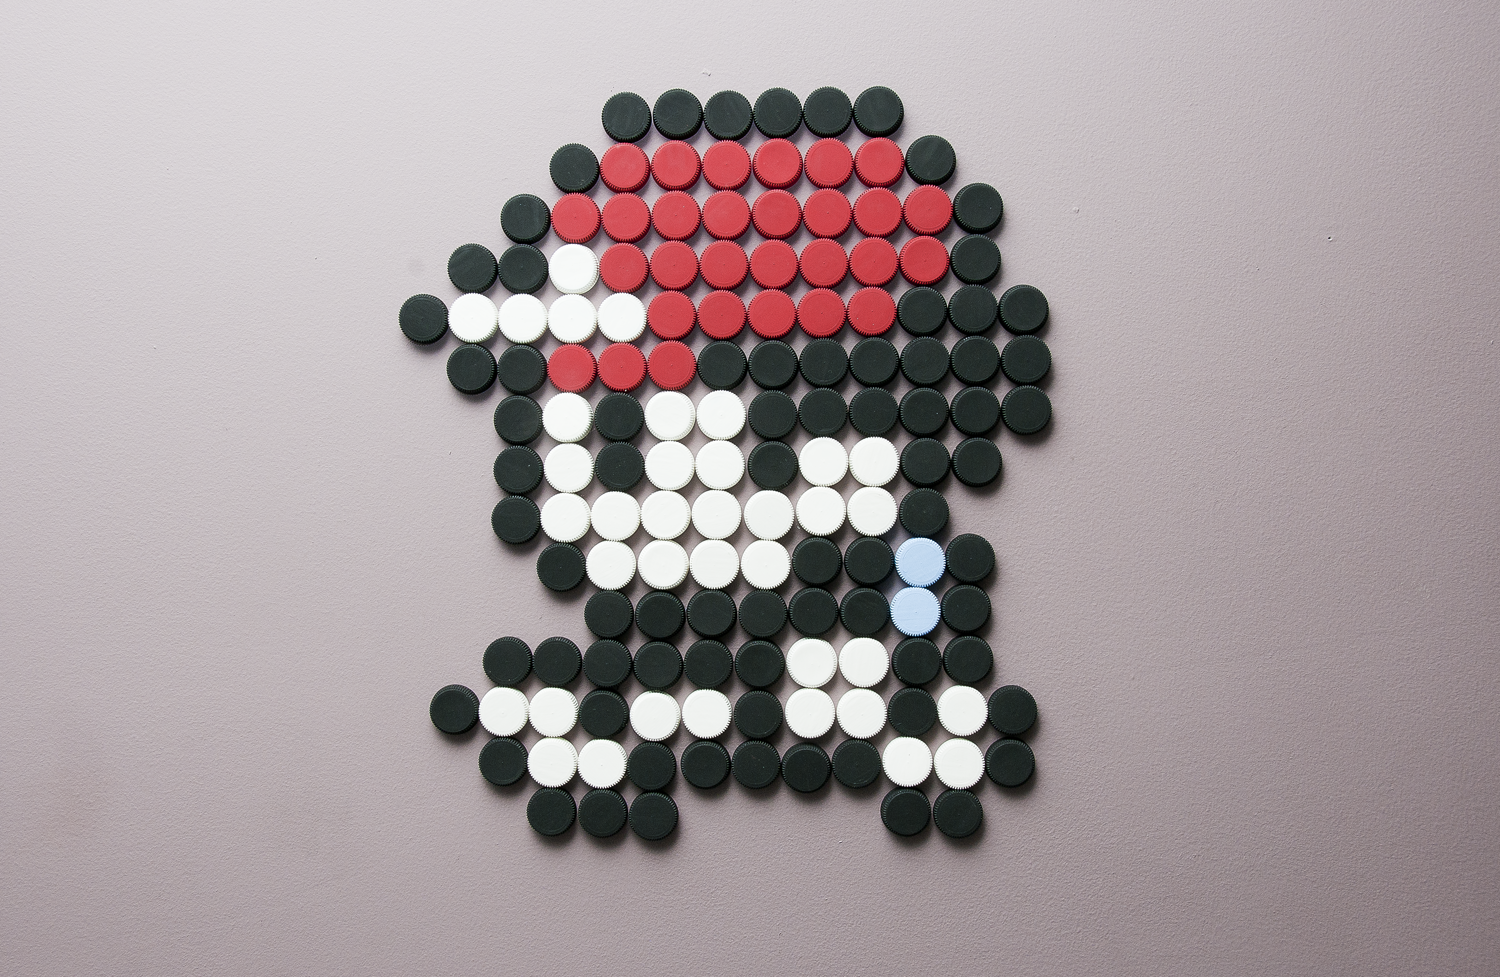
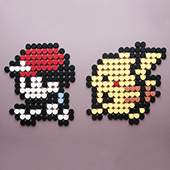
![]() ![]() ![]() ![]() Dori: FINE. So I gave Ash his bottle cap Pikachu. It looks so awesome on my wall, I never wanna take it off! Bottle caps from water bottles add up fast. These pics were added to the original tutorial page: DIY: Bottle Cap Wall Art. |

Posted by Dori the Giant at 6:17 PM 4 comments
Labels: do it yourself, things i made
Dec 27, 2011
DIY: Bottle Cap Wall Art
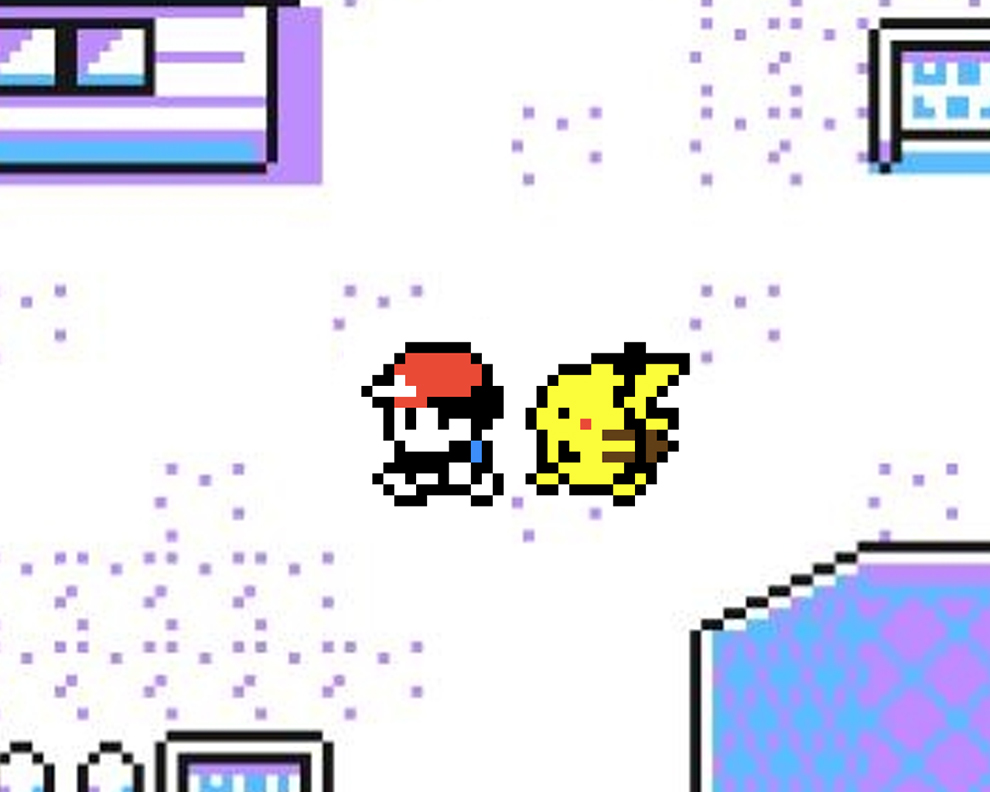
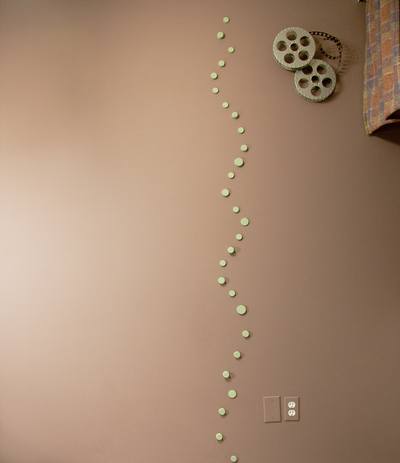
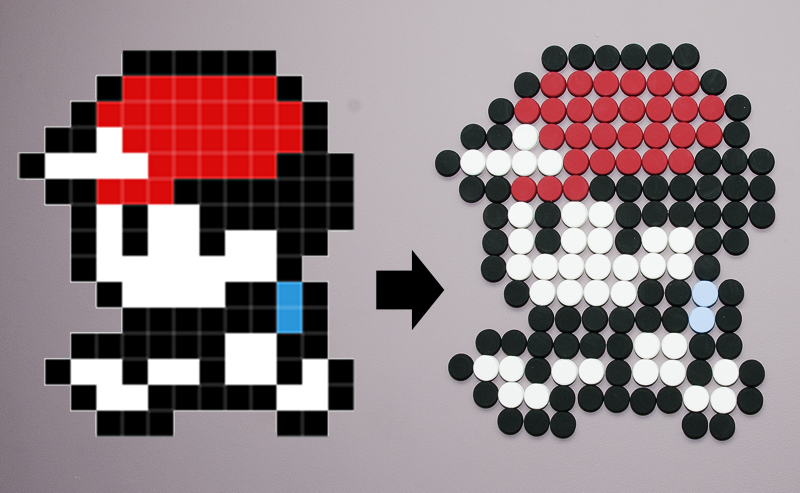
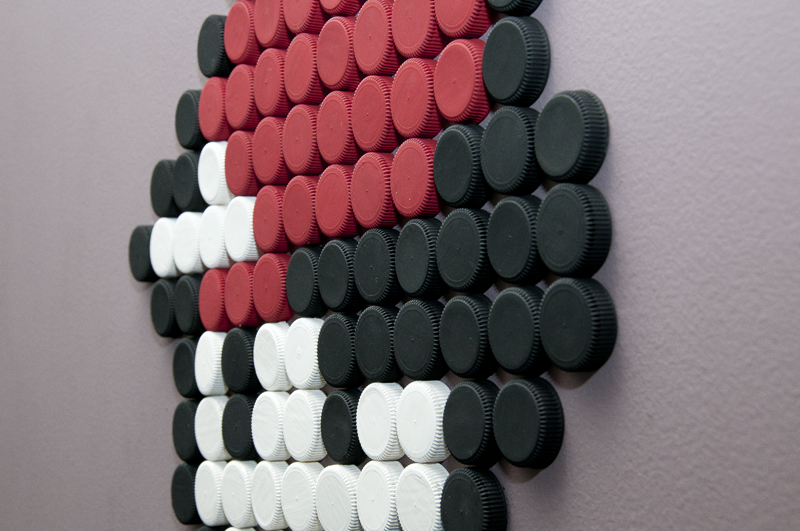
![]() This "do it yourself" tutorial is an improvement of an old post I made last year. A unique way to decorate your walls and reuse materials is to create shapes using bottle cap lids. You will need bottle caps, paint, and sticky tack! You can do simple, flowing shapes to unify shapes and colours within your room: ![]() Or you can create pixel-based shapes and images like this one: ![]() To create a pixel based image, choose an image based on the amount of pixels in it. Here is an image I found of Ash Ketchum from the old gameboy colour Pokemon game series which I used to play: ![]() You can open up the image in a program such as Photoshop, zoom in and see a pixel grid. This way you'll be able to see just how many pixels are in the image, and how many bottle caps you'll need to create it. ![]() Here is a close-up: ![]() My family buys cases of bottled water (which I think is a waste of money) so all these bottle caps added up really fast. I hope you enjoyed this little art project. Added May 2012: Pikachu ![]() ![]() ![]() |

Posted by Dori the Giant at 1:05 AM 12 comments
Labels: do it yourself, things i made
Jul 17, 2011
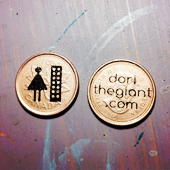
DIY: Business Coins
Posted by Dori the Giant at 9:15 PM 10 comments
Labels: do it yourself, things i made
Jul 10, 2011
DIY: Thread wrapped glasses.


(Model: my sister Ewelina.)
STEP 1: Get a pair of glasses with a frame shape that you like. Make sure the lenses can pop out! Mine cost me $1. In this case, I used thread that is thicker and is often called floss/embroidery thread. Find it at the dollar store!
STEP 2: Depending on your desired pattern, start at a comfortable spot by tying one knot. Try to wrap around the knot as well, that way it won't come undone.
STEP 3: When changing colours, you can either tie a knot or leave a loose end (like I did in step 2) and secure it by wrapping the new thread over it.
STEP 4: Don't worry about threads sticking out if you'll be wrapping over them anyways. You can finish off using double knots and hide the knots on the back of the frame. If that doesn't hold, add a dab of glue.
I think I rock them better than my siser:

Thanks for reading! If you make these, link me and I will post your creation here! OR if you're interested in purchasing a special pair designed by yours truly, let me know. Take care!
Posted by Dori the Giant at 2:00 PM 7 comments
Labels: do it yourself, things i made